I’ve been photographing my projects for quite some time, but I haven’t had the chance to put them into writing yet.
For now, to keep the site active, I’ll be sharing some of my hobby projects in the Projects section as brief titles without detailed descriptions.
Hopefully, as I complete them, I’ll turn each one into a full blog post with detailed writeups.
I purchased this Sony PVM-14L1 in this condition. It needs a full recap, but while inspecting the capacitors on the neckboard, I noticed that some of them don’t match the original schematic values. It’s likely that the issue can be fixed by replacing just one or two capacitors. There are also two buttons on the front panel that need to be repaired.
The “balcony server” I had been hosted on for years decided to shut down, so I needed to find a new home for myself. At first, I considered setting up a home server using a Raspberry Pi 5, but eventually decided that an overseas location would make more sense. As a result, I now have two VPS servers one is nearly configured, while the other ran into a few issues. Since the server admins weren’t very eager to help, I’ve put that one on hold for now. Of course, those who know me already know where to find me.

VPS 1
VPS 2
I bought this switcher to quickly switch between different arcade boards in my cabinet. Although I’m not actively using it at the moment, I’ve made a few modifications to it.
However, there are three things I don’t like about it:
- Because it’s based on the JAMMA standard, it doesn’t support 6-button setups. (This can be fixed by converting it to the CHAMMA standard and assigning the missing buttons to a ground line.)
- The switching process is handled via a Bluetooth remote. (The Bluetooth module can be removed and replaced with a mechanical button instead.)
- When powered on, the system supplies power to both connected boards simultaneously, instead of only the active one. (Not great for hardware safety/longevity)
I’m not sure if I’ll reuse it in the future, but my current workaround is to connect all systems via extension cables and route them to an easily accessible point in the cabinet (the coin acceptor area) for manual switching.

Sega NAOMI 1 + DIMM Board Setup for My Arcade Cabinet
-
Power Supply
-
Sega NAOMI 1 Mainboard
-
DIMM Board
-
CF Reader
-
I/O Board
-
Audio Amplifier
The I/O board was configured for 6-button support (CHAMMA), and an audio amplifier was added.
Games were flashed onto CF cards.
A GD-ROM data cable has been ordered.
Cabinet feet will be ordered.
15/10/2025 Update : The data cable turned out to be incompatible with the CF reader. One connector needs to be removed and soldered directly to make it work…
Stella Arcade Cabinet General Maintenance and Layout Update. The original American style joysticks and buttons were replaced with Japanese SANWA joysticks and buttons. The P1 and P2 button layouts were converted to the Sega Astro City layout. Initially, I had designed a 3D printable modular control panel that could support multiple button layouts, but in the end, I decided on a fixed 8-button design. The current setup is also fully compatible with the NEO·GEO MVS 4 button configuration.

- Aladdin XT modchip installed with custom BIOS.
- IDE drive replaced with SATA via adapter for full Xbox library support.
- Added Bluetooth joystick mode using Teensy 4.1 and 8BitDo adapter.

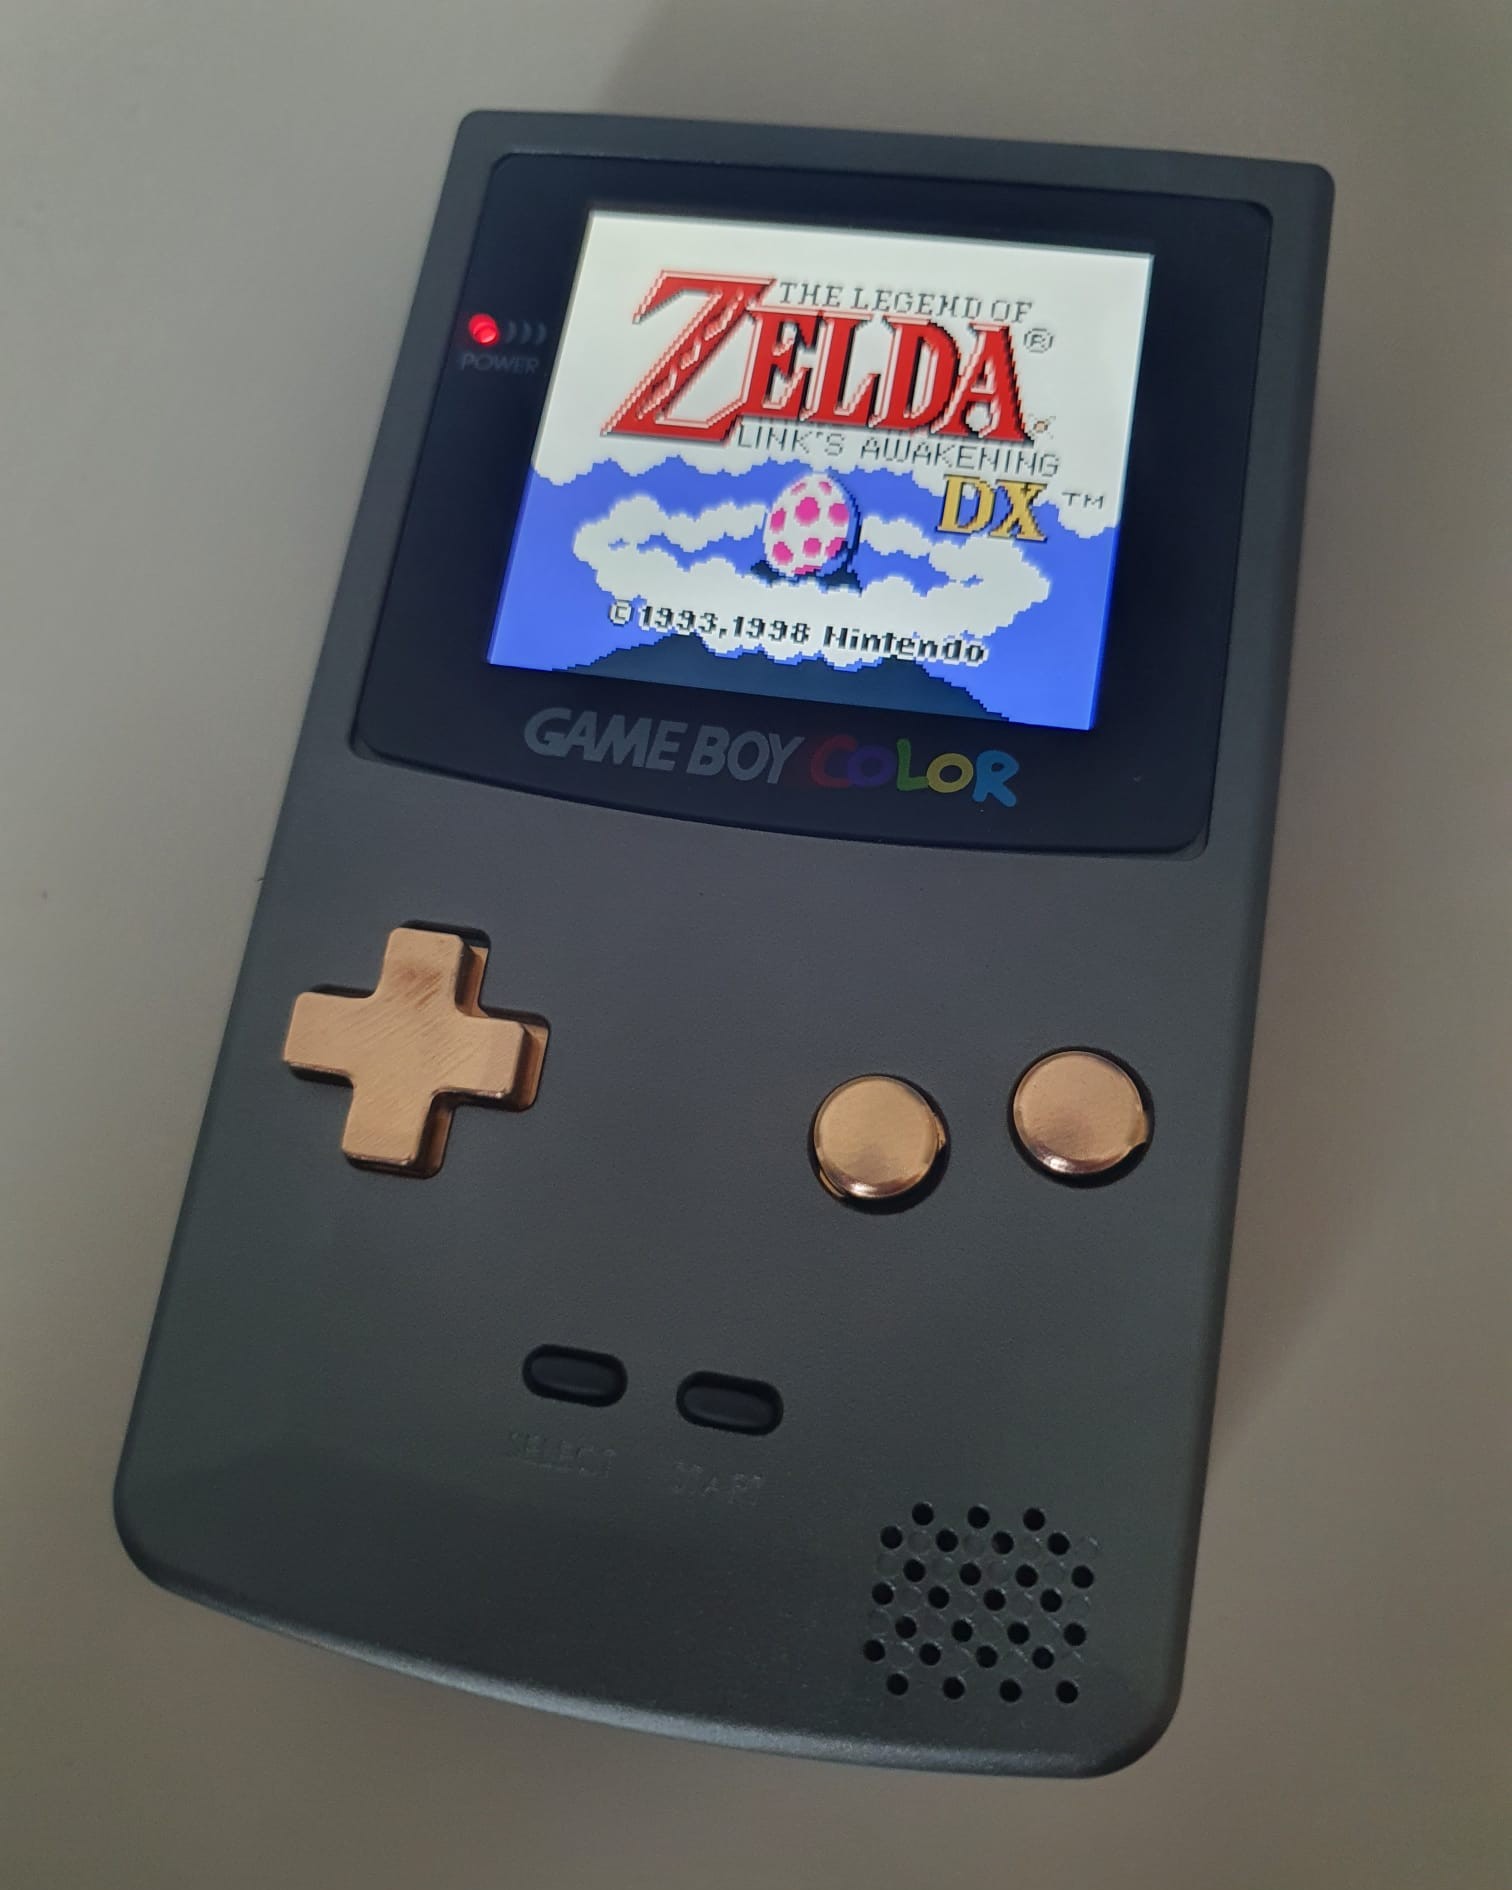
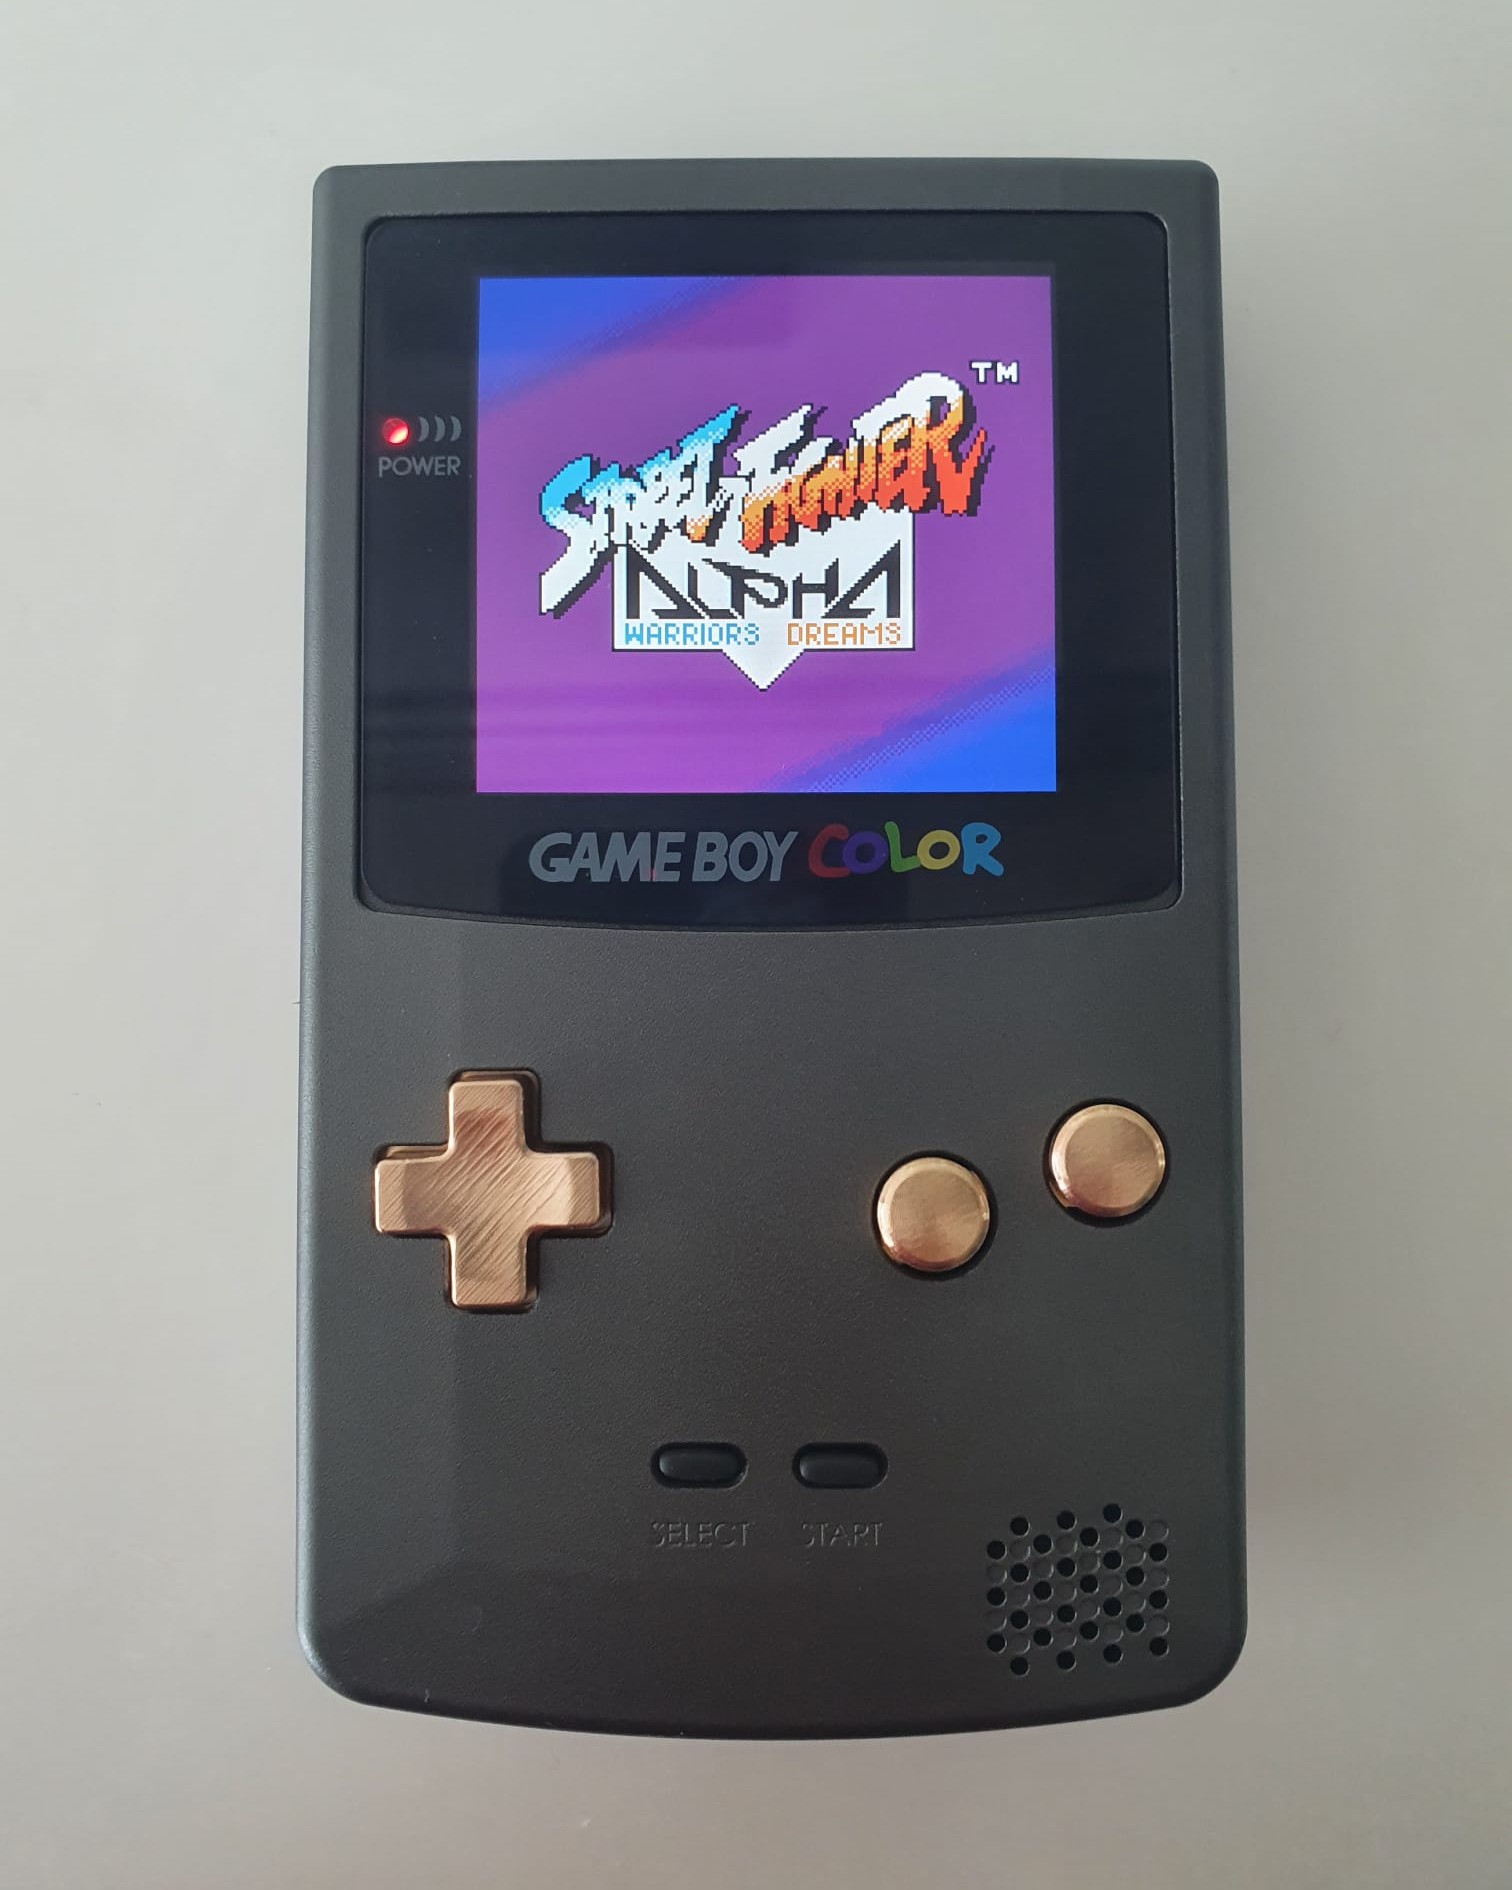
Nintendo Game Boy Color
- LCD Screen Upgrade
- BoxyPixel Aluminum Shell
- Lithium-ion Battery Mod
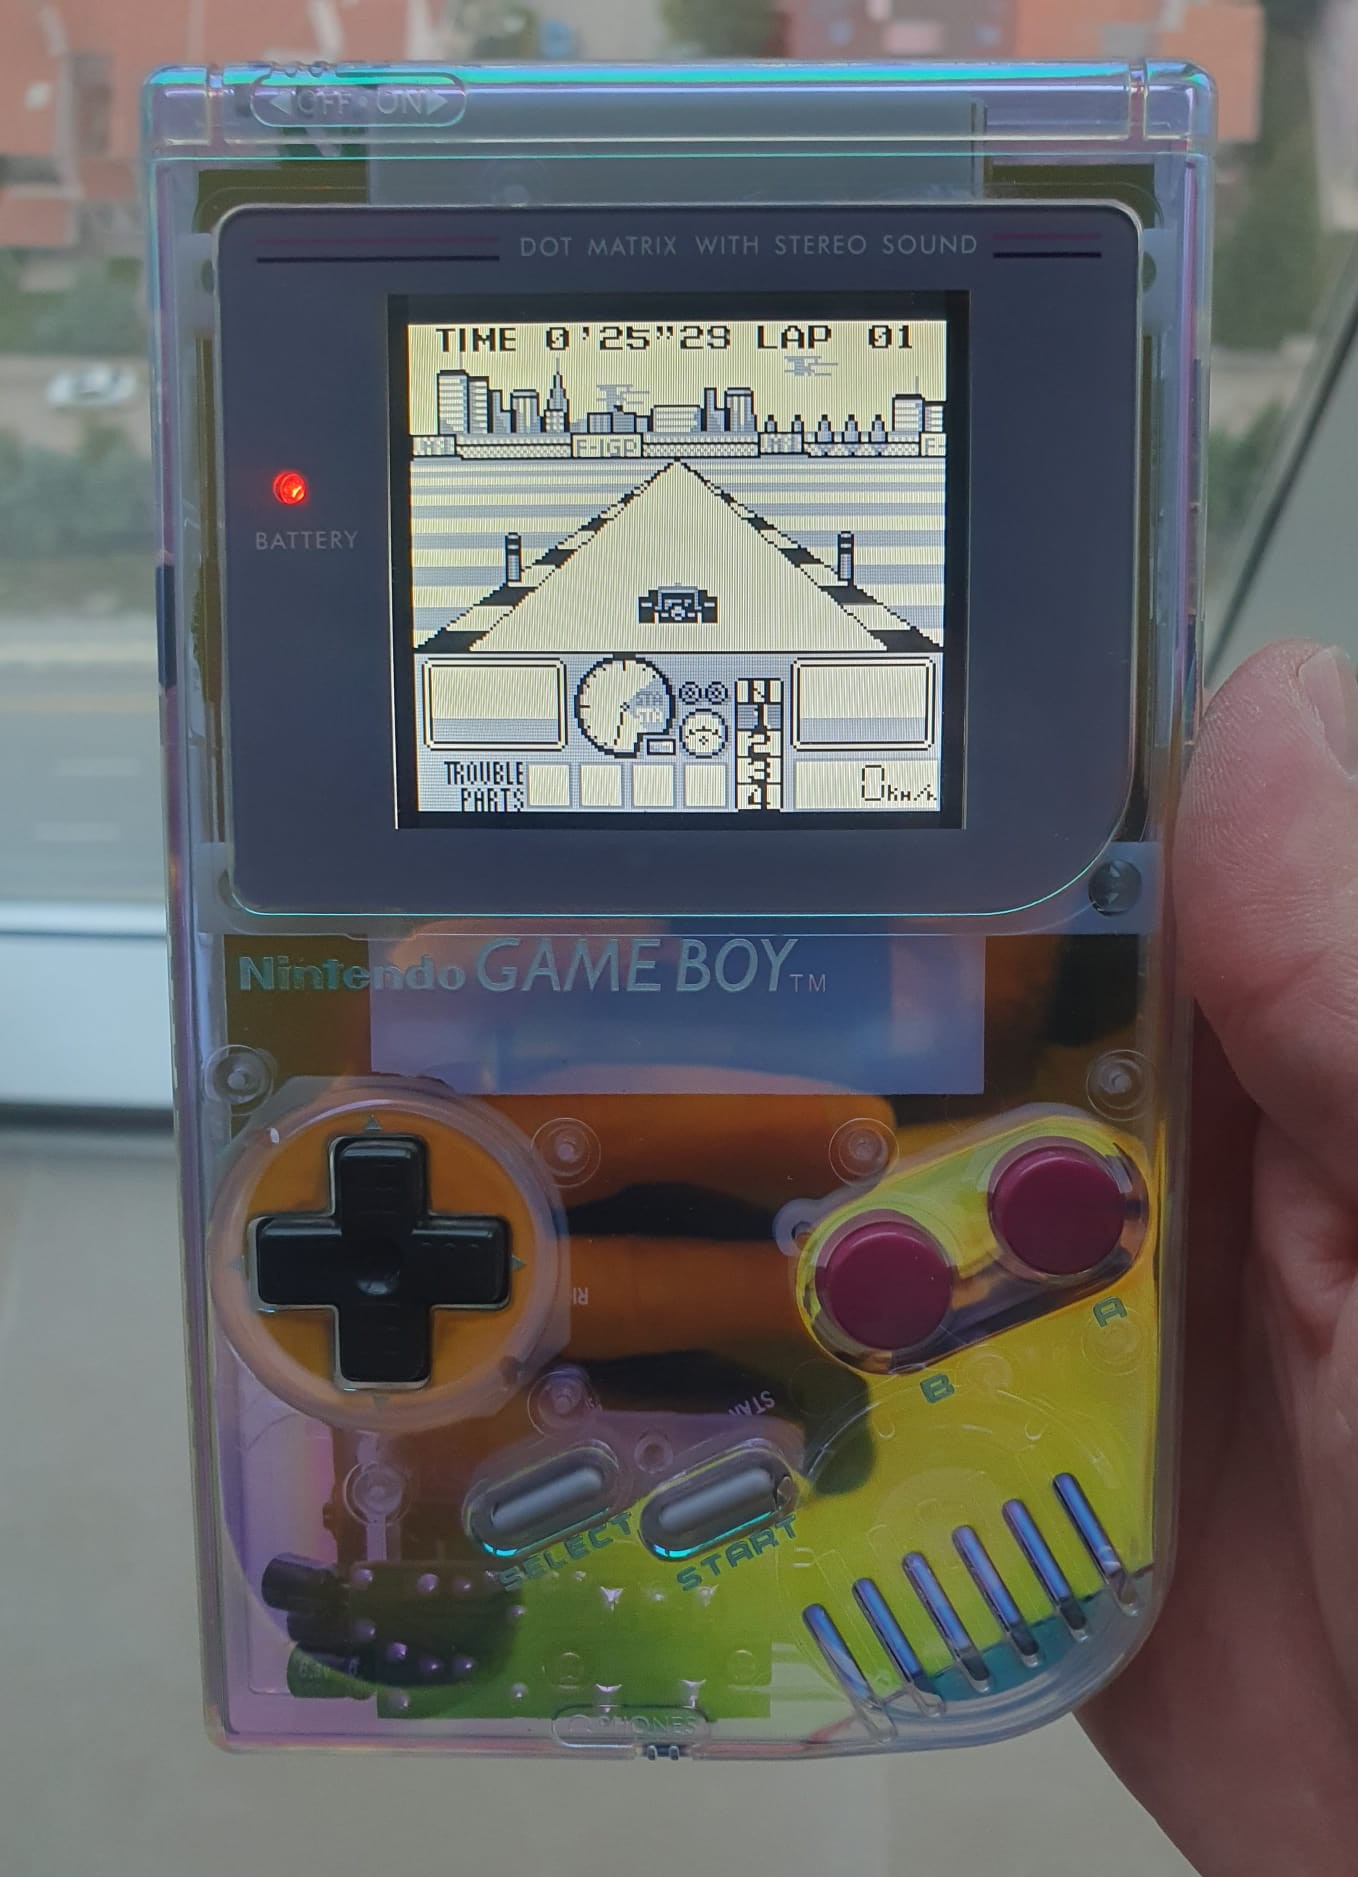
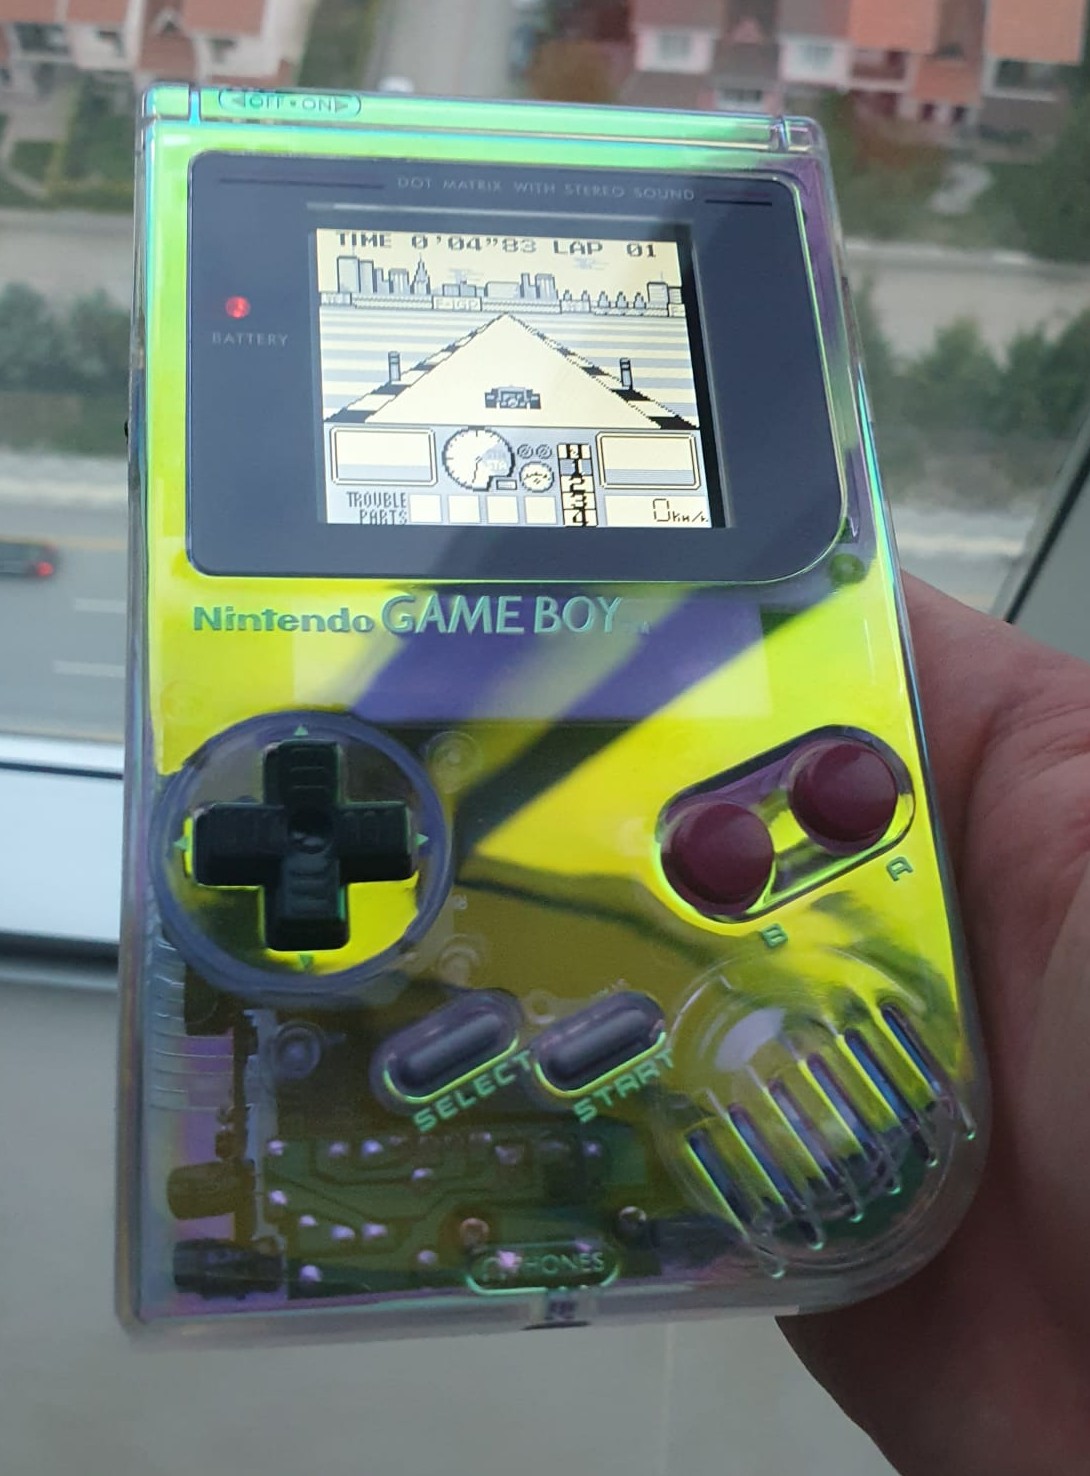
Nintendo Game Boy DMG
- LCD Screen Upgrade
- Shell Replacement
PS Vita joystick plastic degraded due to rubber reversion. Cleaning with isopropyl alcohol helps a bit, but full replacement is the best fix.

Setting up RGB-Pi on Raspberry Pi 4 with an external amp. My previous Pi 5 setup worked, but I couldn’t get audio output hoping to fix that this time.

The sound output on my Blood Bros. arcade board is very low it likely needs a capacitor replacement. In the long run, my goal is to rebuild the original cabinet from scratch.

I purchased several Bluetooth modules to experiment with adding wireless audio support to the DMG.
